LOGO

The Fab Academy 2014

Digital Fabrication Laboratory. Department of Architecture.

Institute of Technology. EPS-CEU San Pablo CEU University

Adolfo Gutiérrez Sánchez

Architect

  Home Portfolio Files
COMPUTER-AIDED DESIGN

TSplinesRhino

The assignment

The assignment for this week was to design a 3D model with a 3D modeller. As I am an architect, I feel very familiar with 2D and 3D modelling. I use several programs for 3D modelling, such as AutoCAD, Revit, and Rhinoceros.

For this assignment, I wanted to use a different type of software, but in the same way somethig that could be helpful for me in the future, not just a software that I would not use it anymore.

I decided to use a plugin called T-Splines for Rhino. It is a software more focused into industrial design and videogames. Even though it is not quite architectural, there are several important architects such as Zaha Hadid and Ma Yansong that use it very often for their rare designs. It is was very common to use aircraft design software for this sort of architecture designs, but not anymore with this relatively new plugin for Rhino.

The following text has been copied from the official T-Splines website. It explains perfectly the utilities of a software like this in comparison with regular NURBS modelling like Rhinoceros:

T-Splines Technology

What is the magic underneath the covers that makes T-Splines such a unique and compelling new technology? How does T-Splines overcome limitations that are inherent to existing NURBS and subdivision based modeling approaches? Four key components of the patented T-Splines technology make it all possible:

T-Points

A non-uniform rational b-spline Surface or NURBS surface is defined by a set of control points which lie, topologically, in a rectangular grid. This means that, in practice, a large percentage of NURBS control points are superfluous in that they contain no significant geometric information, but merely are needed to satisfy the topological constraint.

Local detail

Refinement, the process of adding new control points to a control mesh without changing the surface, is an important basic operation used by designers. A limitation of NURBS is that refinement requires the insertion of an entire row of control points, increasing the density of the mesh across the entire surface. T-Points enable T-Splines to be locally refineable. As shown below, a single control point can be added to a T-Splines control grid.

Non-rectangular surfaces with star points

With T-Splines, non-rectangular surfaces can be constructed using star points, also called poles or extraordinary points. This overcomes another fundamental NURBS limitation: In NURBS surface modeling, constructing a complex shape with varying detail, curvature or smoothness requires many individual rectangular patches. Maintaining continuity and smoothness across these patch surfaces is a significant challenge.

100% compatibility to NURBS

All T-Splines surfaces are 100% compatible with NURBS and create gap-free, smooth and manufacturable surfaces. T-Splines surfaces can be converted to untrimmed NURBS surfaces, and vice-versa, without any loss or change to the surface shape.

Ribbon

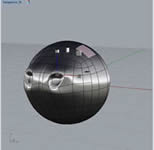
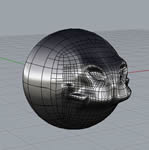
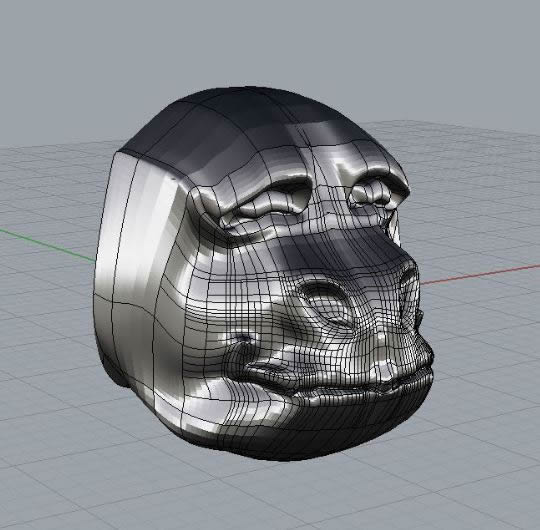
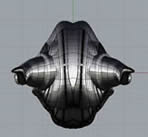
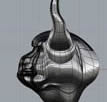
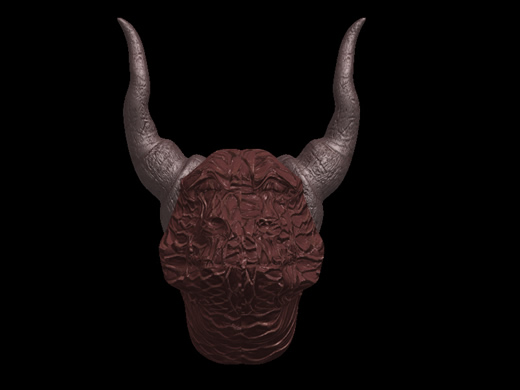
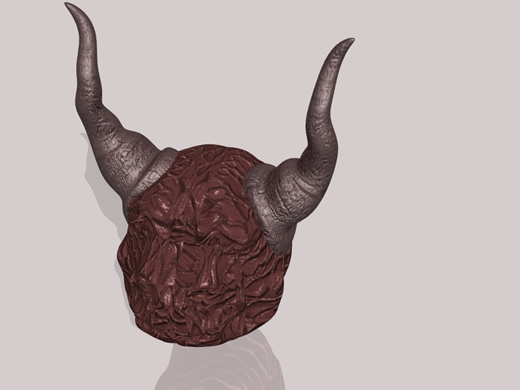
The modelling

The modelling of a figure like this is quite different form a regular NURBS modelling:

  1. The sculpting starts form a basic form, I started with a sphere, as the final result of the modelling is a face, that is very simmilar to the sphere.
  2. Done that, the following step is to set a symmetry plane, so the modelling done from one side of the plane, is reflected in the other side of it. It is a very powerful way to do sculpt things that are symmetric to one plane.
  3. One we have done it, the next step is to start sculpting as we were a potter. The plugin has several commands that allow us to model the figure: extrusion, move, rotate and scale. Each of the commands can be applied to 3 different elements of T-Spline object: POINTS, FACE and EDGE.
  4. I started with the nose holes, it is a good reference to start giving scale to the figure. After we have some scale, we can keep modelling the rest: eyes, horns and the rest of the face.
  5. We can model separate elements and join them with some functions integrated in the plugin, as welding edges and faces.
1 2 3 4 5 6 7

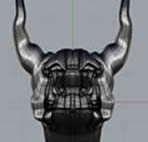
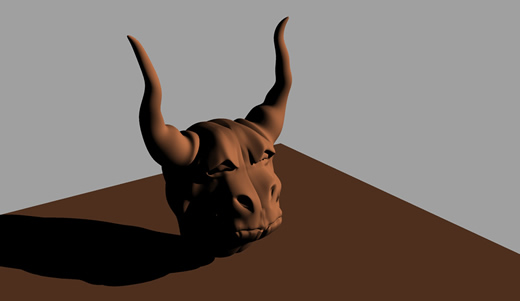
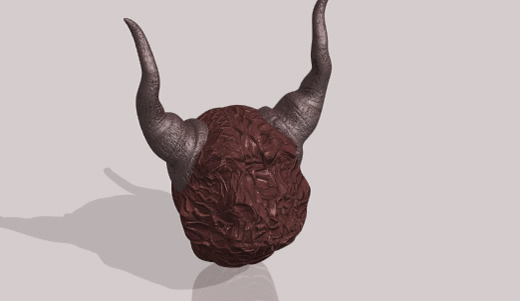
The rendering

The rendering is a very importante part of the postproduction of a 3D model. Best Rhinoceros renderer is VRay, but with the integrated Menatl Ray renderer is enough to obtain pretty good images of our model.

As the model was only divided into 2 parts: the horns and the face, there was only the possibility to apply different materials to those layers, so the final result was not as good as expected, but some more time of subdividing faces and applying materials to each different parts the result can be very convincing.

11 22
33 44